Wine making experiences from 2013. Today I will share with you my experience from my attempt to make homemade wine in 2013. How I went from near disaster to making a good wine.
For the previous 3 years, I had been making home wine with no others help.
I was crushing the grapes. I put the grapes puree along with the grapes in a plastic container and left it for a few days stirring it.
Then I used a grape press to get all the must from the grapes.
I put the resulting must into stainless steel containers and left it until the alcoholic fermentation was complete.
I then transferred it back into the stainless steel containers and sealed it.
The whole process took about 40 days.
The home wine I was producing was good and without additives, but lacked what we call a “body”. It didn’t have that something that stays with you. This observation was made to me by my friend Yiannis Kongalidis when he tasted my wine.
In 2013, I decided to make two drastic changes
- To separate the must from the grape rinds
- To consult an oenologist
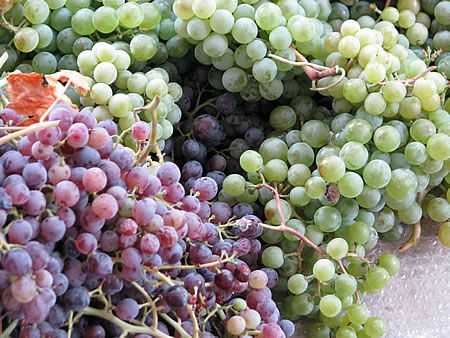
27 August 2013 – Crushing the grapes
I picked the grapes and crushed them. I took only the must. Not the grapes rind.
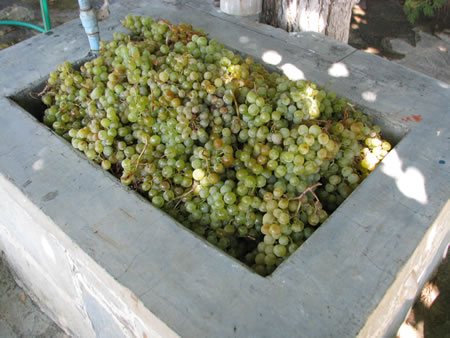
I put the grapes in the crushing trough.
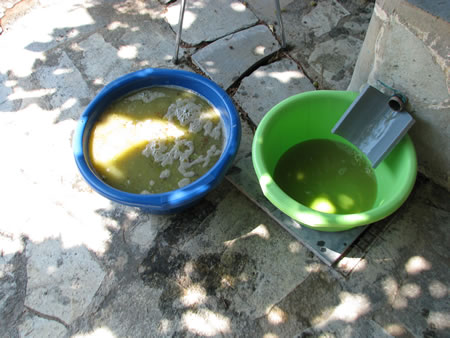
I pressed them and got the must.

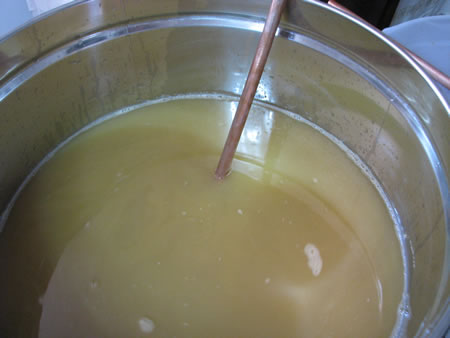
I put the must in stainless steel containers. It contains no grape marcs.
I poured Mustol 1 into the must as I was told by the oenology lab.
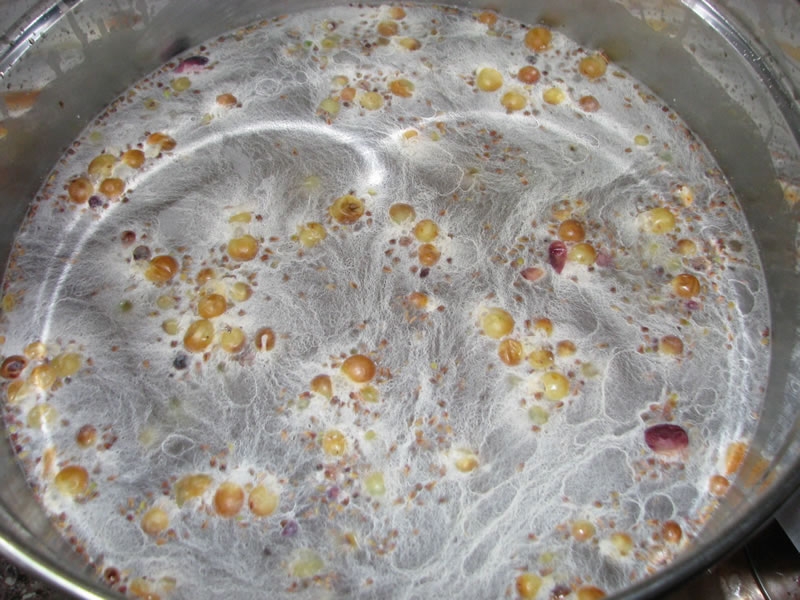
2 September 2013 – Mold develops – Things go bad
It has been 6 days and the must has not started to “boil”. The alcoholic fermentation hasn’t started.
In previous years, when I put the grape rinds together with the must and I did not add Mustol 1, the must started boiling immediately. But this year nothing was happening.
Do you think that’s all the bad news? Of course not!

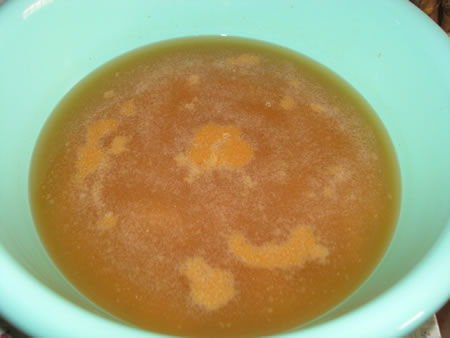
The must develops white mold on its surface and smells very bad, like a rotten egg.
Panic and disappointment were the first feelings. A year of work and a lot of expectations are wasted. Or not…
I turn to the internet to find out why fermentation hasn’t started and why the mold has developed.
I find that it is because there are not enough yeasts because I have not put in the grape rinds and that I may have put in a higher dose of Mustol 1 which contains sodium metabisulfite. Sodium metabisulfite can kill the yeasts.
Without yeast, the fermentation can’t start.
I immediately begin aerating the must while helping it come into contact with copper which helps neutralize the sodium metabisulfite.
What does aeration of the must means in my case?
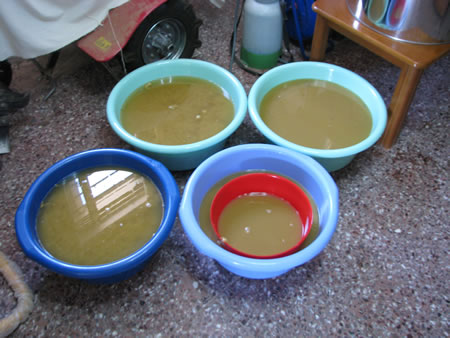
I take must out of the stainless steel container and pour it with a splash into basins. Splashing helps more oxygen to come in contact with must.
In the basins I have placed two copper water pipes that I have scraped well to give them a shiny copper color.
I repeat the process several times to bring the must into contact with the oxygen and copper.
After this process the mold is gone and the stale egg smell in the must disappears. But the must has not yet started to boil.
3 September 2013 – Back to oenology lab
Back to the oenology lab. I tell them the symptoms about the mold, the smell of the rotten egg and that the must has not started to boil. The alcoholic fermentation hasn’t started yet.
They tell me that I poured more than I needed of Mustol 1.
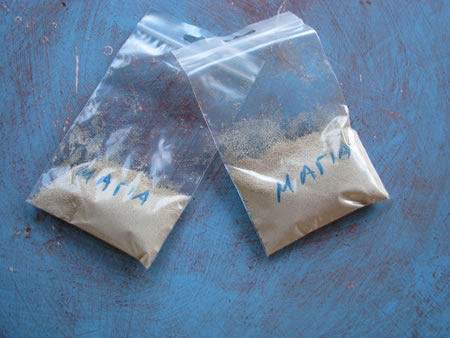
They give me yeast to start the fermentation.
I follow the procedure I was told, to activate the yeast.
I pour the yeast into the must.
Several hours of agony pass, but in the evening, the must finally starts to boil!
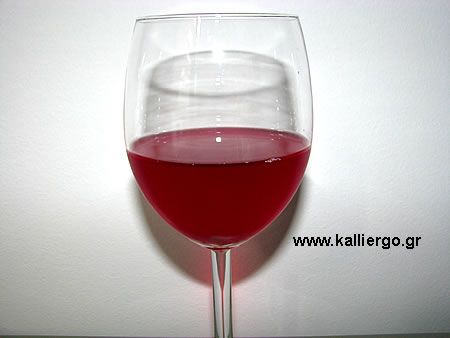
13 September 2013 – Alcoholic fermentation is complete
The alcoholic fermentation is complete.
I take samples to the oenology lab. They tell me that everything is very good and the wine is good.
They give me to pour in Oinoli (another oenological substance).
14 September 2013 – I add Oinoli to the “wine”
I poured the Oinoli into the wine as I was told by the oenology lab.
I put oak additives inside a tulle.
The oak additives help a wine in a stainless steel container, get the flavor and body that it would have if it were in a wooden oak barrel.
12 November 2013 – Removal of oak additives
I removed the oak additives from the wine. In fact, I removed what it was left.
The next two photos show the tulle that contained the oak additives after I removed it from the stainless steel container.

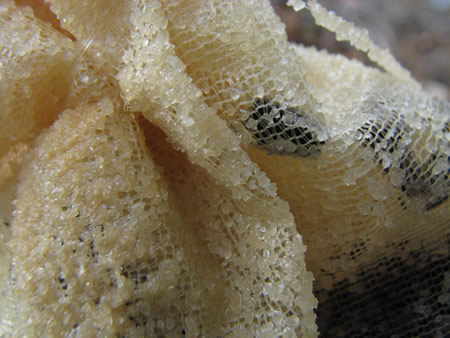
I was struck by the strong crystalline structures that developed on the tulle.
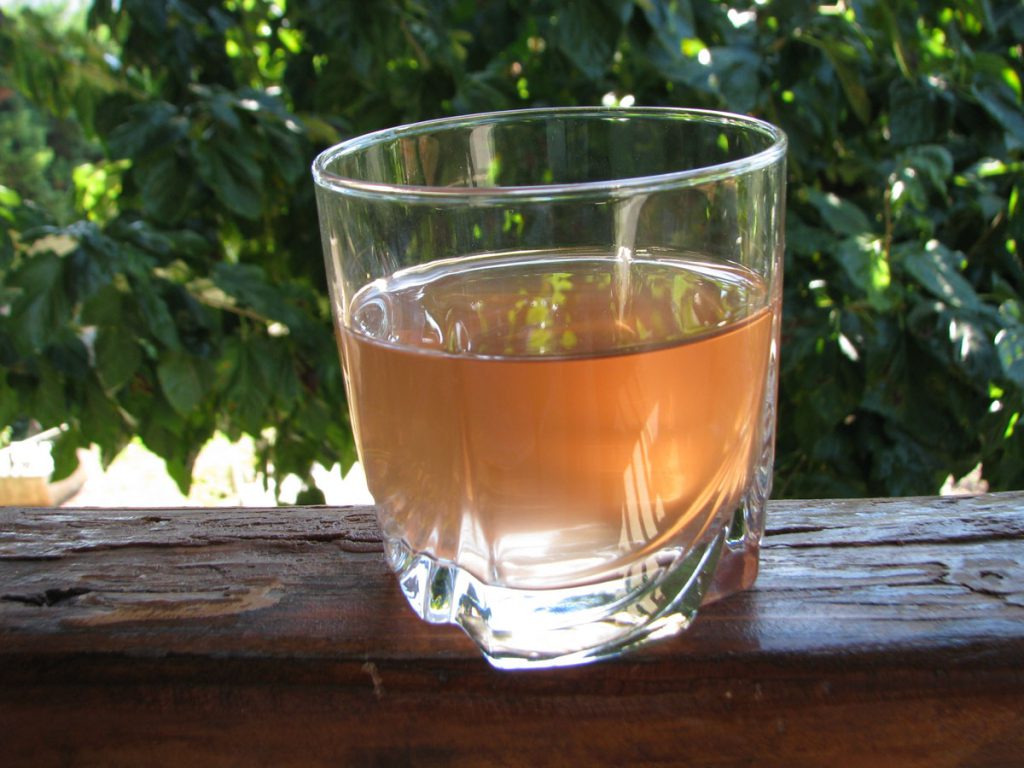
19 January 2014 – I have a good homemade grapes wine
The wine, despite its adventures, turned out to be a very good wine and yes… now it has body!
Tags: DIY • HOMEMADE WINE • I MAKE • OINOLI • SODIUM METABISULFITE • WINE