In September I sow broccoli, spinach and lettuce seeds.
Start of September or late August is the time to start preparing for the autumn crops.
I chose to start the fall season by growing broccoli, spinach, lettuce and beets (beets are not mentioned in the rest of this article).
Broccoli is beneficial to health.
Spinach is easy to grow and can be cooked in many ways (spinach pies, spinach risotto, etc.).
Beets are my favorite.
Lettuce is easy to grow and makes delicious salads.
I sow in the speedling tray seed starter
This year I will start the crops by first sowing in a speedling tray seed starter. Sowing in a seed starter gives me several advantages.
- I can have the seed starter in the city, on the balcony or on the terrace
- The plants in their first weeks of life have an ideal and strong soil mix.
- I can select and transplant the plants that will become stronger. My garden will not have empty spaces from plants that would eventually not grow if I sowed them directly into the soil.
- It’s fun as I watch the seedlings grow day by day. Besides, I don’t expect to make a living selling my produce. I do it for my personal enjoyment and to have quality food.
The speedling tray seed starter
Greece is a blessed country. It has a very good climate and relatively high temperatures. This means that we don’t need special facilities to place our own seed starter.
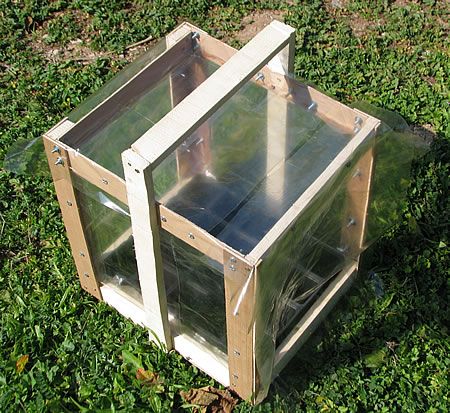
In other countries you will need special structures (like mini greenhouses), in which you can place your seed starters. In Greece, such facilities are not always necessary. The climate of our country is favorable. But if you have access to such mini greenhouses, you can use them. I don’t.
I bought some speedling trays (made of molded polystyrene) from the local nursery store. Each tray has 60 planting positions. These trays were originally developed by Speedling, Inc., for large-scale agriculture. The company’s patent has since run out, so a lot of manufacturers are making them.

As you can see in the photo above, each planting position has a hole for water drainage. You might need to place a rock over each hole, just like you do in the planters. Make sure the stone is relatively flat and covers the hole. When you do, you will have a picture similar to the next one.

Soil mix for seed starters
In seed starters, you shouldn’t put plain soil from your garden or potting soil that you can find at the market or in supermarkets. seed starters, to be successful, need a special soil mix.
I personally used Potgrond P, made by Klasmann Deilmann GmbH which was recommended to me by my local nursery store and I have no regrets.
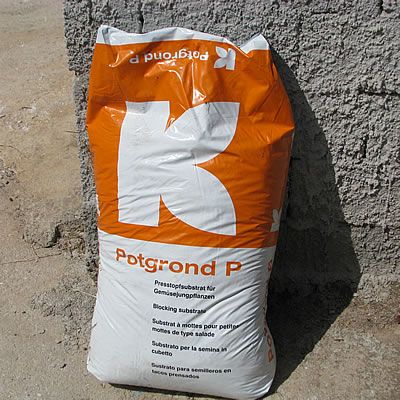
Potgrond P is a blocking substrate based on high-quality frozen through German black peat, made specifically for seed starters whose press pots are up to 6 centimeters deep. It is available in 70 liter packs and is sufficient for several nursery pots.
You can consult your agronomist about the type of soil mix to use in your seed starters.
Filling the tray’s planting positions with soil
The next step is to fill the tray’s planting positions with soil.

Filling each press pot with soil is not enough. The soil mixture is thin and will get compacted after the first watering. So after you have made the first filling, you should press the soil so that it packs. Refill the press pots and repeat the compacting. You can use various methods and “tools” to compact the soil. Like your finger tips or a bottle like shown in the following photo.

Finally, the speedling tray with all its pots filled looks like this.

Before I start sowing the seeds, I pour a little water in each location to allow the soil to settle more.
I sow the seeds
I create a small hole in each press pot to put the seeds in.

The hole should not be too deep. 1 cm is more than enough. Put 2 to 3 seeds in each hole and cover them with soil. Very carefully add a little water.

The next question that arises is where do I place my seed starter?
Now that the weather is still warm, I place the speedling tray on the balcony in the morning. But not in a random place. I choose a spot where the wind doesn’t catch it and the sun doesn’t see it directly.
When it darks, I place the speedling tray inside the house where it is warmer.
Growing of the seeds
Day 1
I was very impressed that not even 24 hours after sowing, the seeds were activated and started to grow.

Day 3
Growth continues in a rapid pace.

Day 3 – View of the speedling tray

Day 3 – Broccoli seedlings

Day 3 – Lettuce seedlings

Day 3 – Spinach seedlings
Tags: BALCONY • BEETROOT • BROCCOLI • CITY • CULTIVATE • I PLANT • LETTUCE • NURSERY SHOP • SOW • SPINACH • TERRACE