My recipe for Greek sourdough home-made bread. I have been following this recipe for many years and the bread is always delicious.
Ingredients Flour from Thessaly, water, sourdough, salt.
Recipe
I dilute the sourdough with cold water. About 3 glasses of water. (My cousin sent me the sourdough from Komotini, Greece. I have been keeping it alive for 4 years).
First I stir the sourdough with a spoon into the jar I have it in.
Then I pour a glass of cold water into the jar and stir well.
I pour the liquid into a bowl. My bowl is red as you will see in the pictures.
I repeat the process two more times to finally add 3 glasses of water with sourdough.
At this point, it is a good idea to wash the empty jar thoroughly to prepare it to accept the new sourdough starter as you will see next.
Note: If you’re looking for a recipe for homemade yeast bread, check it out: How to Make Homemade Country Bread.
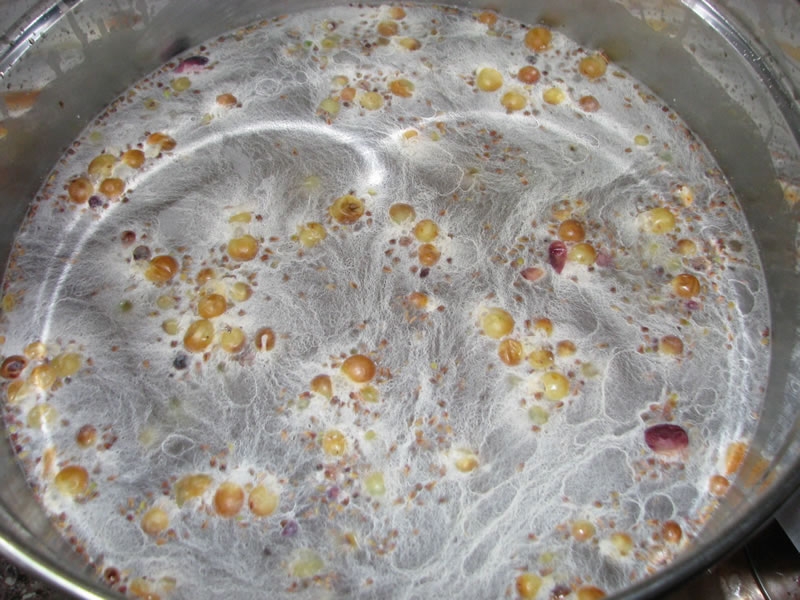
Next, I add enough flour to the sourdough with water to make a thick porridge. I stir as I add so that the mixture is homogenized. I used to sift the flour, but lately I’ve stopped because I noticed it didn’t make a difference.
I cover the bowl with a clean towel and let the mixture activate. It rises, bubbles and increases in volume. How long this phase lasts depends on the ambient temperature. In winter when the weather is cold, it can last 12 hours or more. In summer the process is faster.
Note: The longer this phase lasts, the more sour the bread will become.
Before continuing, I remove about 300ml of the mixture with a spoon and put it in a glass jar. The jar goes into the fridge and will be the next sourdough. At this stage cleanliness is very important so that the sourdough is not “contaminated”. The jar and the spoon must be clean!
Now is the time to add salt to the rest of the mixture in the bowl.
I start to add flour and stir first. Then I add even more flour. At some point the mixture can no longer be stirred and I start kneading it, counting to 130 while kneading (I’m not kidding).
To keep the dough from sticking to the bowl, I dust it with flour!
I cover and let the dough rise for about 3 hours after covering the bowl with a clean cloth. At this stage it will have more than doubled in size. Again, the season (winter or summer) determines how fast this happens.

The sourdough dough rises in the bowl
Knead again. The second kneading is not necessary, but if you do it, you will have even better bread. All the effort you’ve put in so far, on the second knead will you get stuck?
At this stage I have a uniform dough. If I try to press it with my finger, I can see that it is elastic and it comes back.
I preheat the oven to 200 degrees.
I take a baking tray and put oil on it to the extent I expect the dough to sit and a little more.
On top of the baking sheet, I place the dough. If you like, you can score the surface with a sharp knife and sharp strokes.
Note: A friend of mine posted on Facebook that she uses the reverse technique. From the beginning she puts the dough on the greased pan to rise. To keep it from overflowing, she covers the dough with a greased bowl. So eventually after the dough has risen, it will have a loaf on the baking tray, ready to bake. HOT!!!
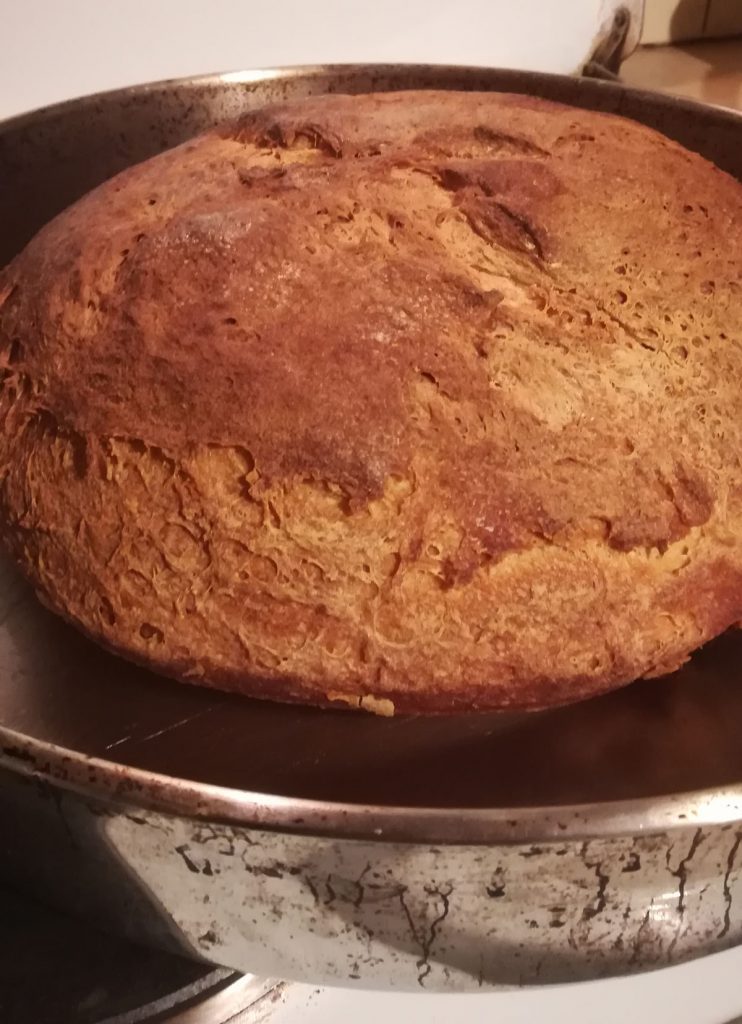
I put the dough in the oven and bake it for 1 hour per pound of weight.
Once baked, I remove it from the pan so it doesn’t get soggy underneath. I place it on a clean cloth and let it cool.

Ready! The baked bread has just come out of the oven
This rustic sourdough bread can be kept for weeks out of the fridge. Let me tell you from experience that the longer it sits, the better it gets. And the important thing… It doesn’t mold!!!
Practical Tips
- In the first few hours when it’s hot you can eat the whole thing without realizing it. That’s how delicious it is. Ideal accompaniments: cheese, oil, oregano. Of course, it’s best not to do it because you’ll regret it because of the bloating you’ll have afterwards. Try it in moderation, because whatever I tell you, you will!!!
- The longer it sits, the more compact it becomes.
- Personally, I cut it into pieces and put it in the freezer.
Another Tip
This Greek home-made bread is delicious! If you don’t want your bread to immediately disappear, eaten from other family members, hide it and give it to them in batches!
Good luck!!!!
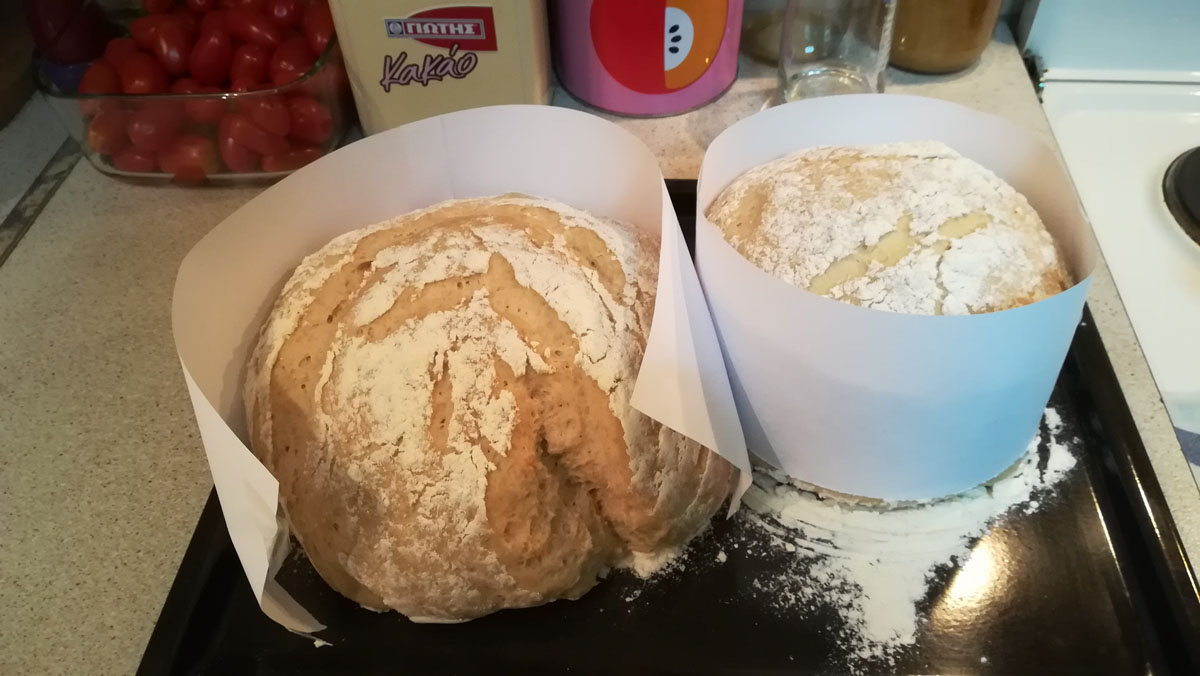
See also how to make a paper mold to make bread loaves!